The meeting started with a review of Field Day stories.
Show and Tell:
Pam – showed a CW key from the NRL Amateur Radio Club.
Jim D – showed a folded dipole antenna and asked for help to try to determine a freq range.
Bob C – Showed a 3 watt LED, mounted on a heat sink and powered by a Buck converter. He is making a moth light to attract moths for a photo project.
Charles – Showed a 12v version of a buck converter and the plans are to use it for power to devices that can only use 12V He also showed an MTS-25 multi-band and mode Receiver as well as a 5w single sideband radio that does CW and SSB.
Jeff – showed his pop-up portable box for a laptop when in the sun. He also has an Arrow antenna for satellite work.
Brad – showed his DMR radio that got it for free and then offered it up to the club for anyone who would like to try getting into DMR.
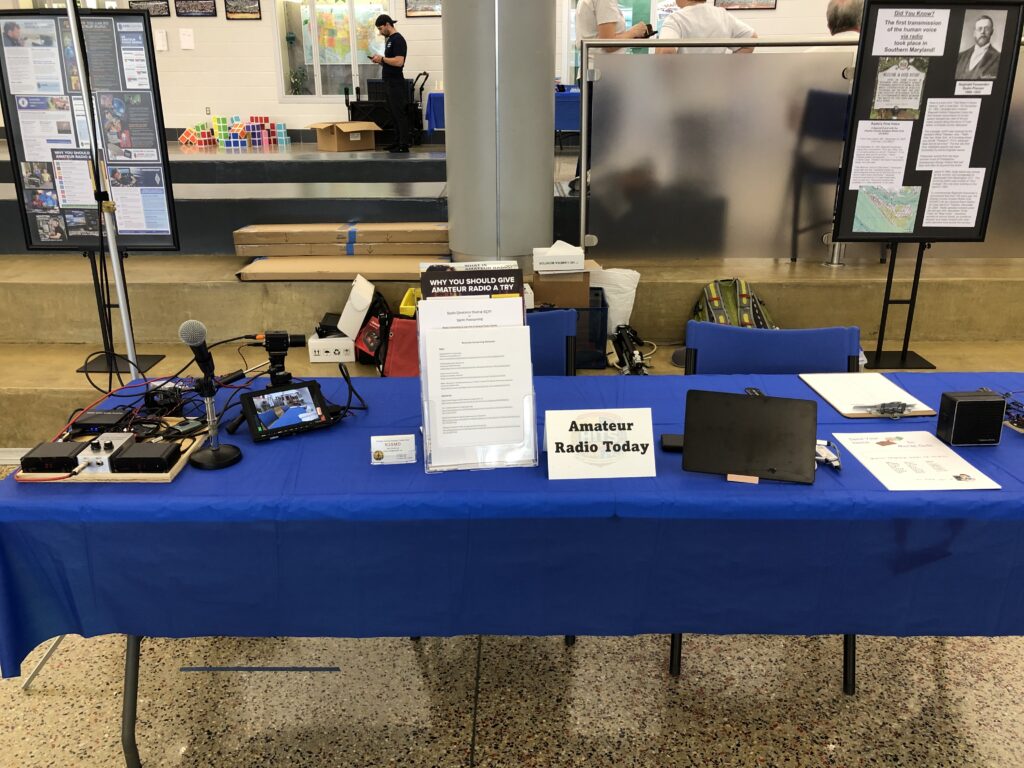
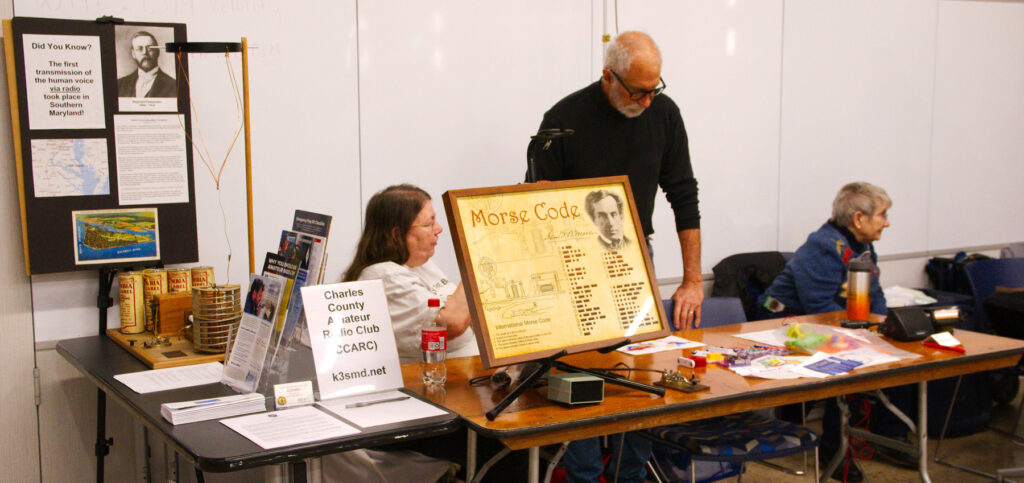
On Saturday, 21 March, Bob (WM3M), Dale (N3ILH), Joe (KB3HNP) and Bob (KB3KOW) attended the 10th annual HITS Expo held at St. Charles High School.
Our table was set up in the cafeteria area, along with about 38 other stations, including Candy DNA, PH Balance Testing, Fingerprints, and reptiles, just to name a few, and those were just the tables in our area. Outside you had Pam and Jeff with Safe Solar Viewing as additional area down the same hall with Raptors you could go visit.
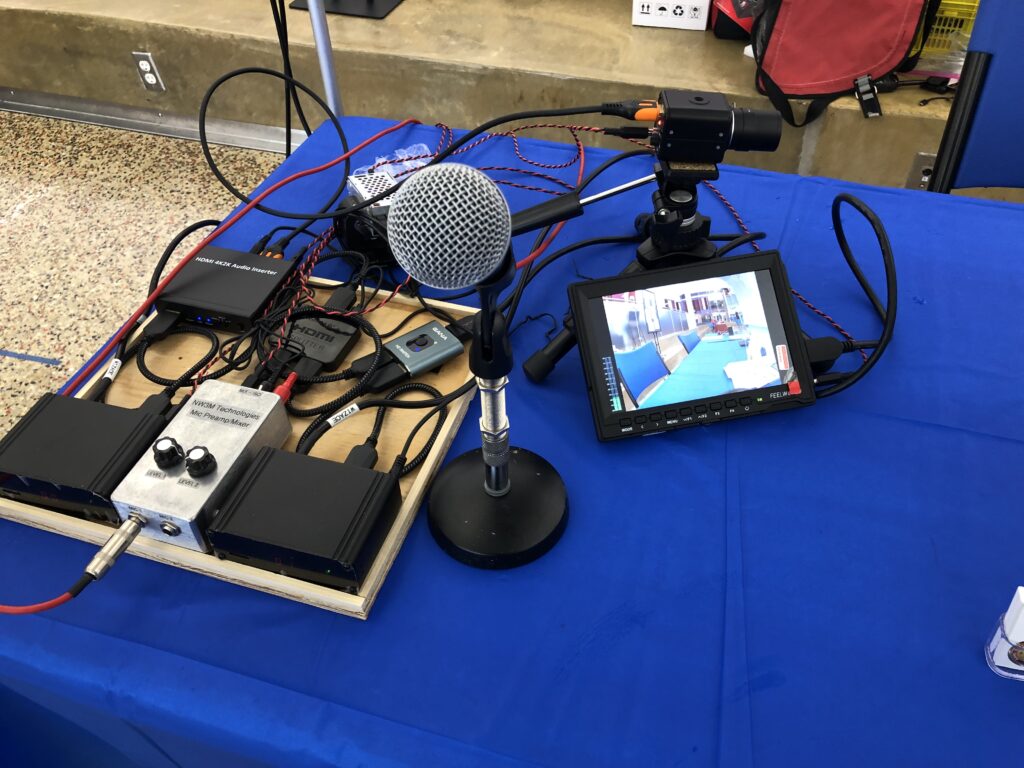
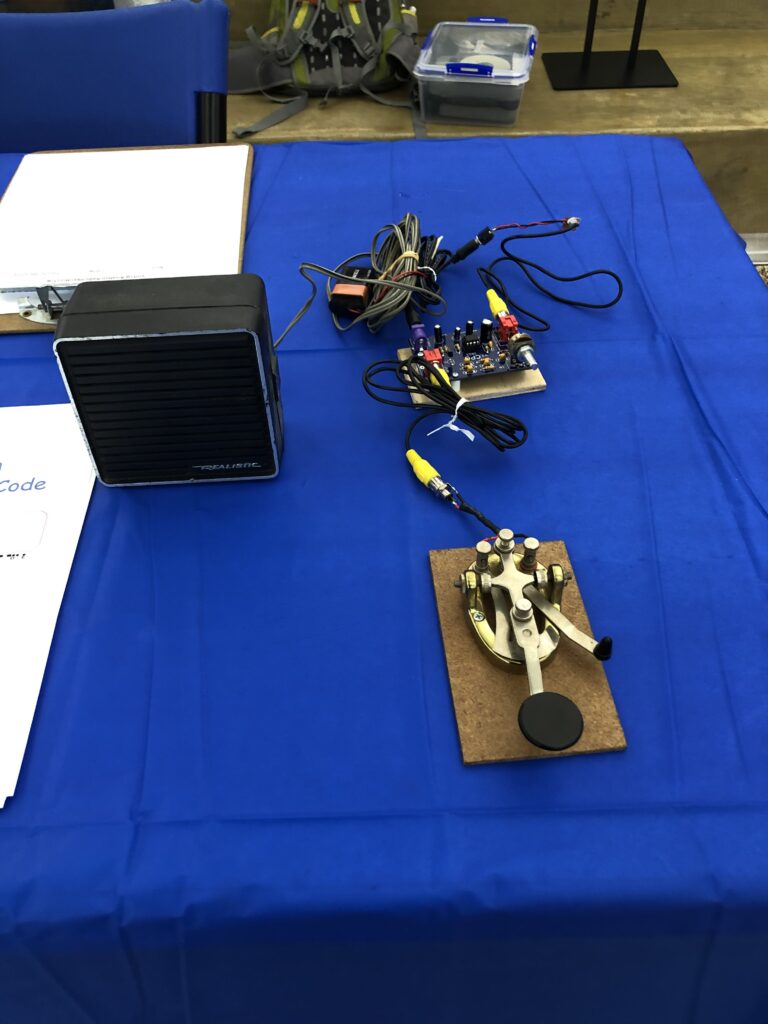
The table set up was a Digital Amatuer TV set up at one end, and a morse code key at the other end with some flyers in the middle that covered general ham radio info, Club info and fox hunting.
We had a lot of interested kids and parents stop by and talk with us rather than just walk by. Most of the youth wanted to try their hands (or fingers) at ending morse code. They attempted to send their name while KB3KOW did his best to decode them. I’d say about a a 87% success rate.
The flow of interested people was constant throughout the day, so no time to sit and relax 🙂 We even had a few stragglers stop to talk with us while we were breaking down our display and even the Chick-fil-a Cow stopped by to tap out a message in Morse code. We don’t speak cow, so I have no idea what she said.
There was also a lot of interest in the DATV set up. One person from Uganda was very interested in the cost and then realized he’d be able to set up a TV station back home. NW3M did note he’d have to check on the amateur regulations for his area, but it was doable.
I would recommend a visit by everyone next year to see the different displays. It was nice to see such a large crowd of interested participants.
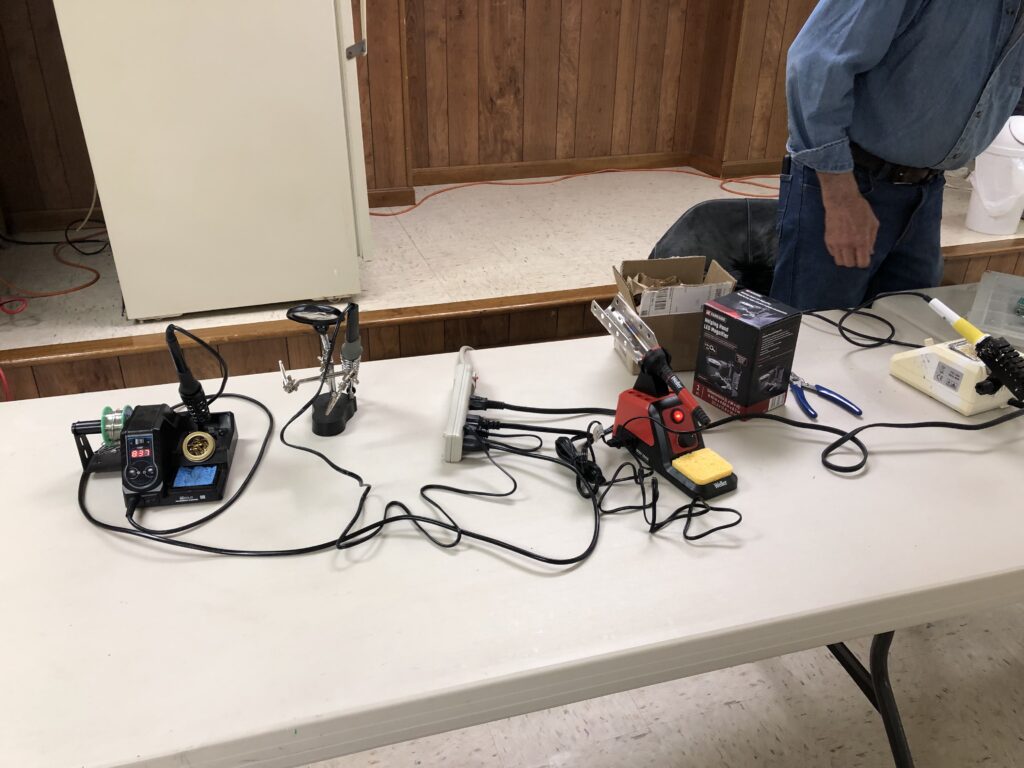
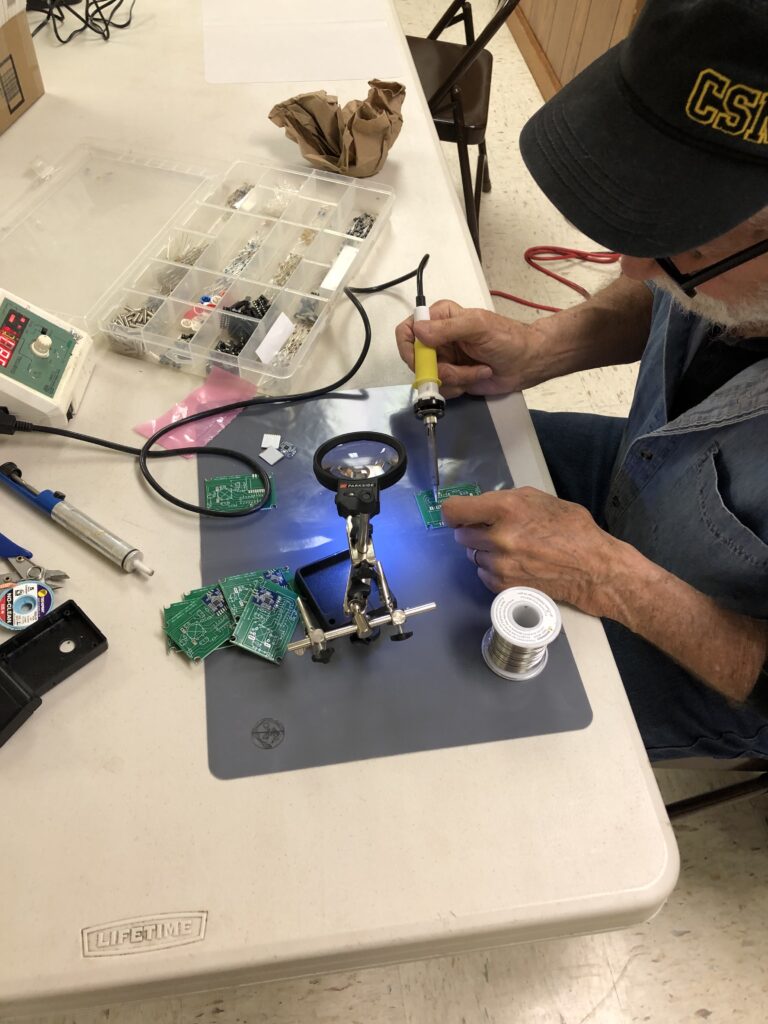
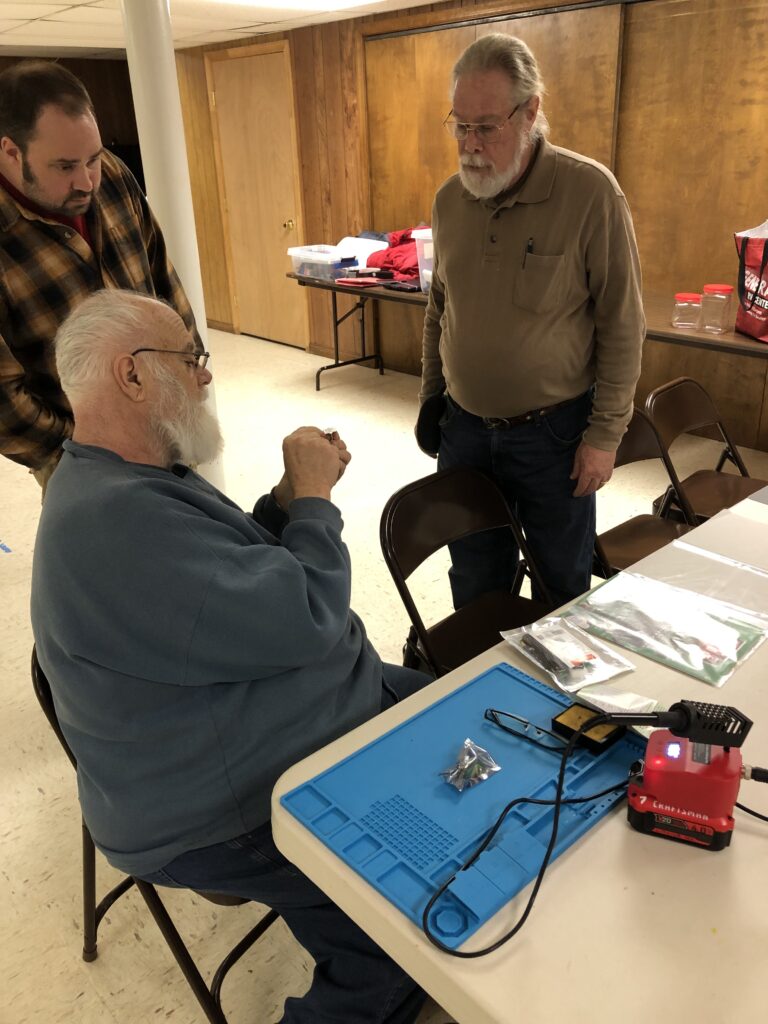
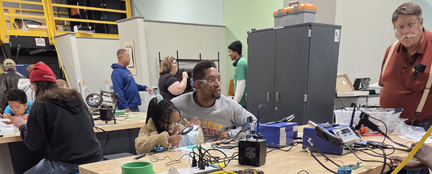
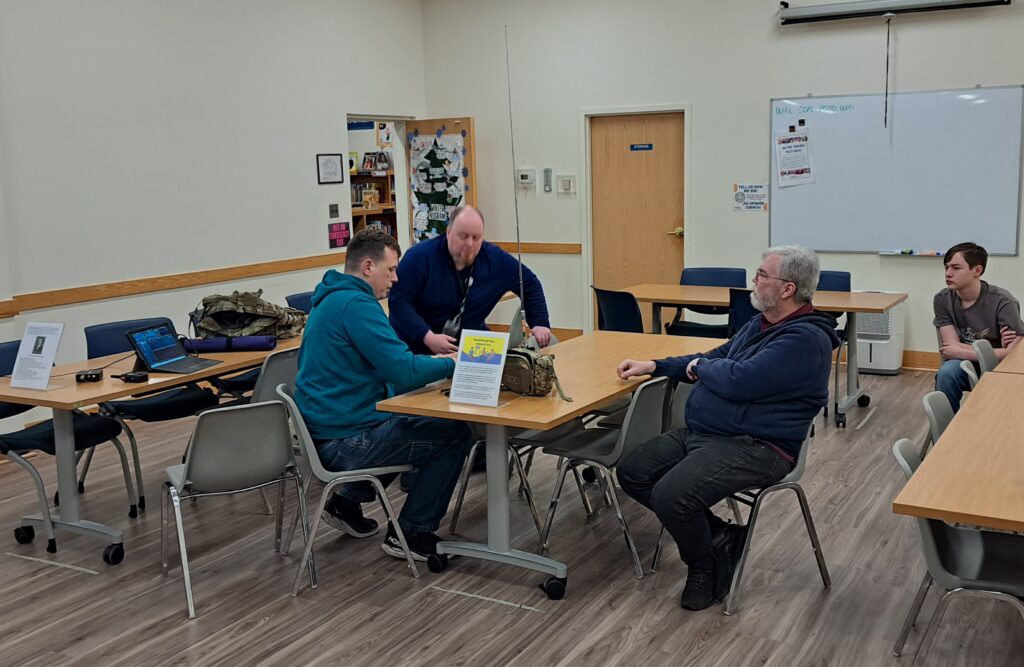
On 06 March, members of the CCARC met up at the very first ‘Workshop’ of 2026. there were two themes — soldering a kit and DMR.
At the ‘soldering’ station. irons were set up and a few folks dived in working on some of the kits that were recommended as a good starting point, or brought along a project that they were looking to finish us. We didn’t smell anything burning or screams of pain, so it was a good night.
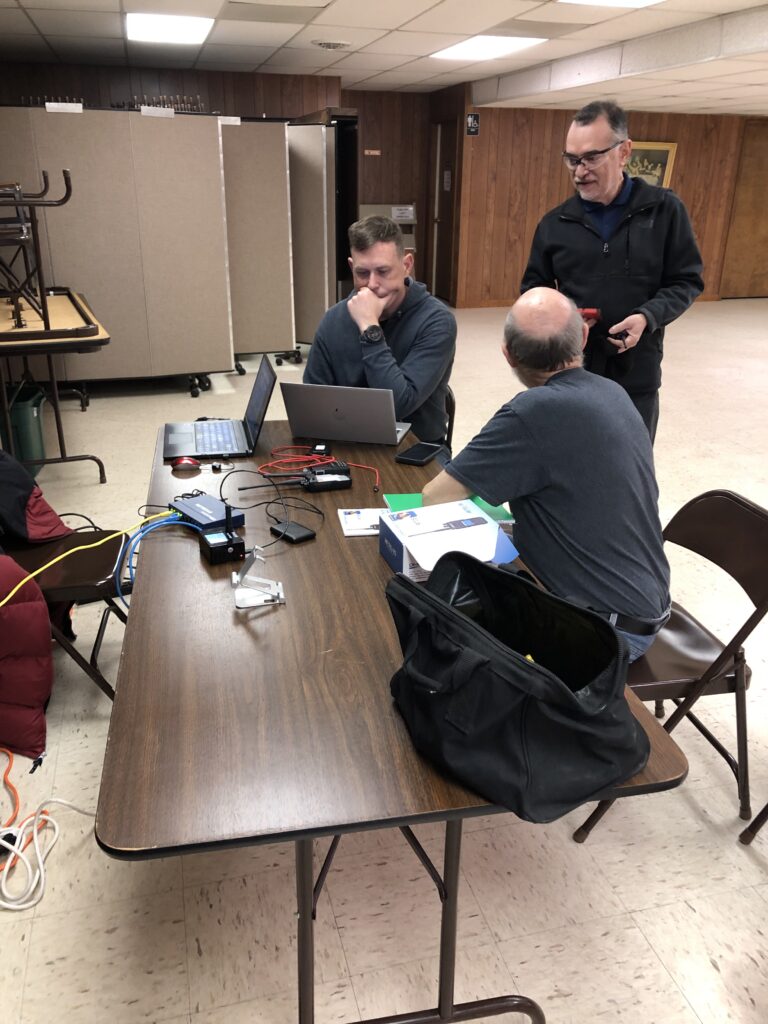
Meanwhile, at the other end of the room, a few folks were huddled around the DMR table getting some education on how to configure their HT for DMR, as well as checking out the set up for a hotspot and trying to make a contact.
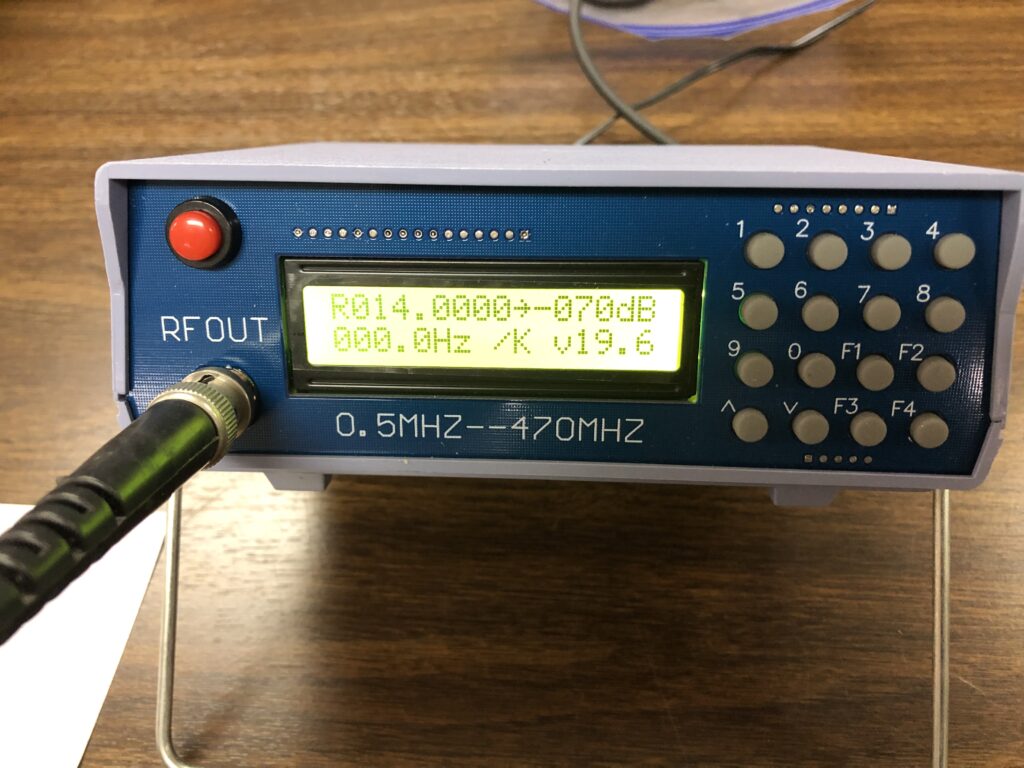
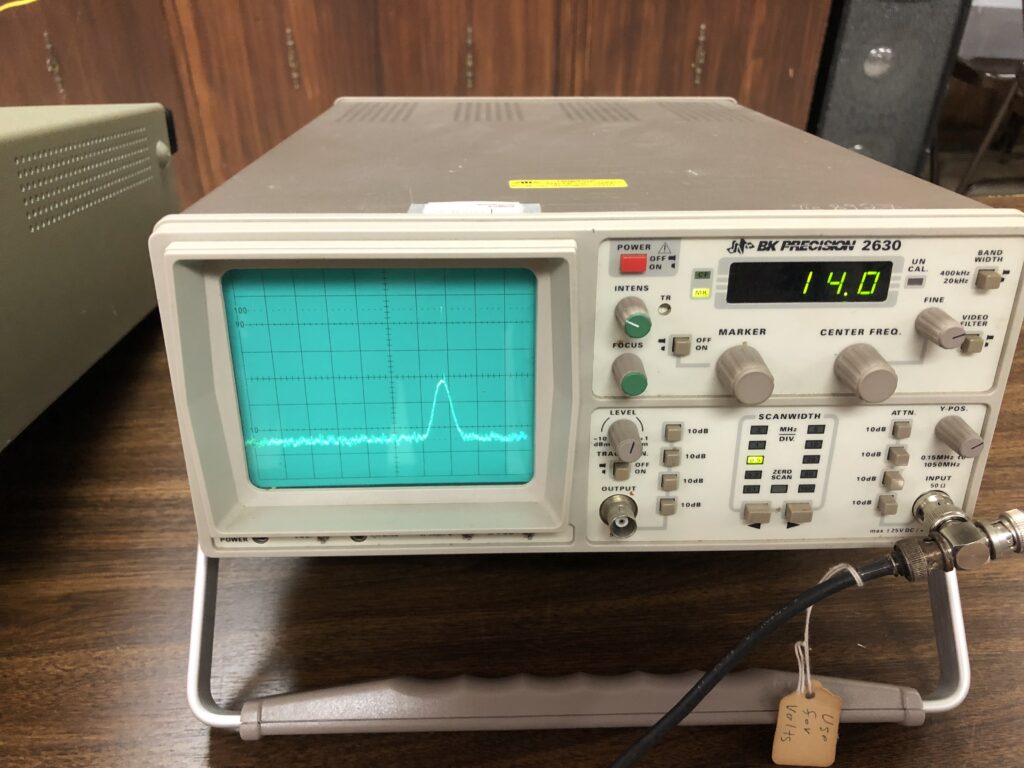
Charles demonstrated a 0.5-400Mhz signal generator. It does both digital and analog and will go from -70 to -130 DB. Normally $65-$100 but you may find them for less at a hamfest. To show how it worked, he brought along 4 different QRP radios. Two of them were super heterodyne and two were direct conversion.
He connected the signal generator to the first QRP radio and showed how to set the needed frequency and showed how the ‘down arrow’ actually made the freq go up. To show that the box was actually putting out a signal, he connected it to an O-Scope
He then connected it to the first QRP rig. The tone was clearly heard at -71db and as he increased the db level, the signal slowly faded.
We moved over to the next QRP rig (v3) and once the reference freq was entered, he repeated the test by increasing the DB level.
The next rig was the Bitx-40 followed by the RFBitBlaster. Each test he noted at what db level the signal generator was at when it could no longer be heard on the radio.
A good piece of test equipment to have on the work bench.
This adventure started with the CQ WW VHF contest. I set up my station outside to operate next to my VHF Yagi antennas mounted on a telescoping flagpole that utilizes an Armstrong rotator. I powered the radio my new LiFePo4 battery box. It hadn’t been charged since Field Day and after a couple hours of making contacts it was down to about 50% charge. After a brief lunch break, I set up my newest solar panel to give it a test run on charging the battery.
It’s a very light weight, reasonably priced, single 100-watt panel from Harbor Freight. My charge controller for the LiFePo4 battery only takes 110 VAC input, so I decided I would manually monitor the charging rate and progress. Initially, this worked well, but as the battery neared 90% charge, the charge rate was still quite high, and the voltage was creeping higher than was safe for the battery. I unplugged it and went about my contesting.
That evening, a search on Amazon turned up a nice, affordable MPPT solar charge controller. The listing stated that it could charge LiFePo4 batteries, as well as the various forms of 12V lead acid batteries, and was best suited for 100-watt solar panels. It arrived the next day.
The specs say that it will operate on any panel capable of producing power from 12-28-volts. I wasn’t sure of the no-load voltage output on the new panel so I set it up in the yard and did a no-load voltage measurement. The maximum voltage produced was 20.9-volts. The panel was well within the safe operating range of the controller.
I made the necessary connections between the solar panel and battery box and went through the set-up procedure. Once that was complete, it did a quick reset and began charging the battery. An MPPT charger will slowly increase the charging current rather than shock the battery with a heavy charge current from the beginning. All was going well until it made the jump from 4 amps to 6 amps. Suddenly, the display and LEDs went dark. I thought it had died, but soon it rebooted and began charging again until it made the jump to 6 amps. After watching it crash a few times, I decided to monitor the panel voltage. All was good until it made that jump to 6 amps. For a second or two, the voltage dropped to somewhere between 10 and 11 volts. Remembering Dale’s explanation of his boost/buck regulators, I went shopping again.
Right away, I was presented with a device that would work with any input voltage from 8 to 40 volts and would provide a steady 12-volt output at up to 10 amps. I ordered it and it arrived 2 days later.
The next sunny day, I connected the regulator to the charge controller and ran outside to plug it into the solar panel and battery box. I plugged it in and watched as it did…absolutely nothing. The charge controller wouldn’t even turn on. I confirmed my wiring was correct. I took the regulator out and connected the charge controller directly to the panel and it worked. Hmm. Time to read the manual.
The charge controller specs say that the input range is from 12-volts to 28-volts. But the fine print says, “DC input must be at least 2-volts higher than the battery voltage.” Well, there’s a problem! The resting voltage of a LiFePo4 battery is 13.6V. That means I need an input voltage of 15.6V. Back to Amazon…again!
I found a boost regulator that would convert the 12V output of the first regulator to 24V. I also learned that there was a version of the first buck/boost regulator that was 8-40 VDC input to 24 VDC output. It would have been nice if that had shown up in my previous searches. But this one was a good bit less expensive than the one that could directly replace the 12V output unit. Could I really use one to drive the other? Only one way to find out.
As soon as the new booster arrive, I connected it to the first unit. When I connected the Rube Goldberg contraption to the solar panel everything appeared to work fine. As the charge controller stepped up the charge amperage to the battery, the system had no trouble keeping up. That was until I walked by the panel and my shadow was briefly cast upon it. That caused the charge controller to abruptly shut down. This time it did not reboot until I unplugged it and plugged it back in. While operating solo that might not be an issue. However, at a public display it would be frustrating.
Troubleshooting time! I disconnected the battery and charge controller and replaced them with a lamp load. While the panel was in full sun, I plugged in the system, with the load attached. The bulbs glowed only dimly, but they did glow. Well, that wasn’t good.
I disconnected everything and measured the panel voltage. It was 18V, but when I plugged the regulators and bulb load in, the panel voltage dropped to 7.8V. Hmm. I then connected an ammeter in line with the panel. When I plugged everything in, the current shot to 6.9A. As I contemplated the situation while looking at the dimly glowing bulbs, I thought to touch the two regulators. The 24V regulator was nice and cool, but the 12V regulator was getting warm. That was a clue. It told me that the 12V regulator was working very hard trying to muster 12V of output power. The fact that the panel voltage had dropped so quickly, and the current shot up so quickly told me that there was an immense inrush current to start the regulator that the panel couldn’t accommodate. I decided to try plugging it in with the load disconnected, then connect the load.
That sequence of steps brought success. With no load, there was barely a flinch on the voltmeter and ammeter when I plugged in the unloaded regulators. When I connected the load, the two lamps glowed brightly. The panel voltage dropped to 12.8V and the current draw was 2.5A. Given that the light bulbs were presenting a 48-watt load on the 24V regulator, 2.5 amps was on point. This test confirmed that when powered up with a load attached, the inrush current to start the switching power supplies was higher than the panel could provide. I would need a source of “reserve” power to insure safe starting of the regulators in the event of a load at startup.
I added a bank of capacitors to the output of the solar panel. When I plugged the system in with the light bulb load connected it lit brightly. Okay! The caps were able to provide enough reserve current stabilization to overcome the inrush current of the system. But, when I waved my arm in front of the panel, well, it crashed and returned to the dim glow. The caps were drained and couldn’t offer any help with restarting. I needed a better solution, but it appeared I was on the right track.
I now needed to figure out a way to deal with the clouds, panel admirers, and by extension, nighttime. I already knew that if the shadow lasted long enough to discharge the capacitor bank, the system would crash. But if the capacitors had a charge, the sudden surge from the load coming online wouldn’t crash the system. I also knew from other tests using a variable power supply that the first stage boost/buck regulator would operate everything just fine down to its published 8-volt minimum input.
For the capacitors to take an initial charge, I needed to ensure that there would be no load on the system until they had reached at least 12.6-volts. That meant I needed to sense a condition that might crash the system, disconnect any downstream load, and wait until conditions were sufficient to bring the load back online.
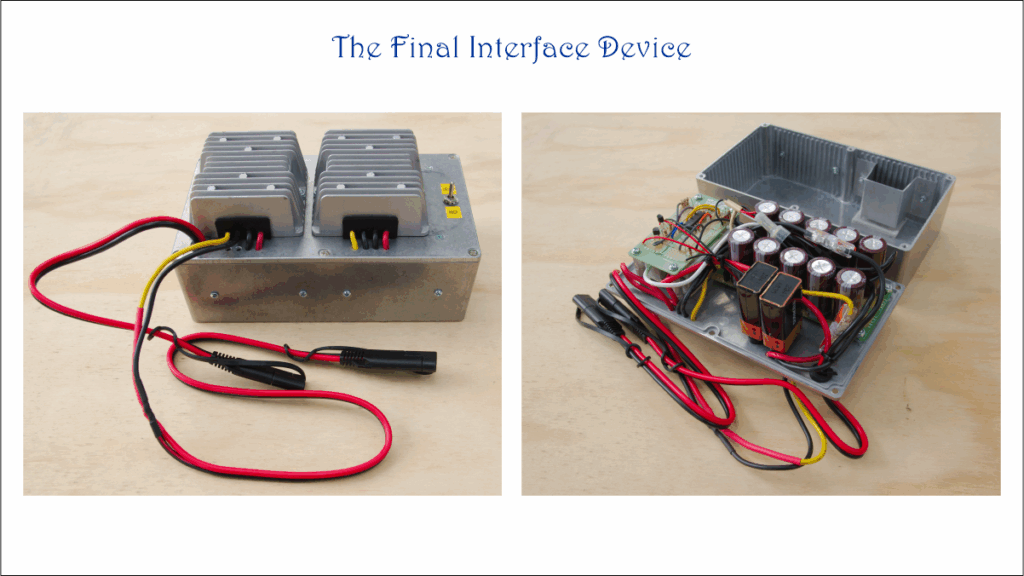
In the end I designed a logic stage that would connect the load when both a lower and upper voltage condition were met. The upper voltage was needed to start the system, the lower voltage was just above what was needed to keep it operating. With both conditions met it would then “latch” an AND gate and engage a solid-state relay to connect the charging system. However, by leaving the lowest “rung” on the AND gate unlatched, if the lower voltage condition was no longer met, the AND gate would return a zero and unlatch itself. That would also disengage the solid-state relay to disconnect the charging system.
Subsequent testing and experimenting with the panel lead me to suspect the panel is either damaged or defective. Unfortunately, by the time I discovered this the warranty had expired. But I have succeeded in creating a workaround for a potentially defective panel. It didn’t beat me!
In the end, if I had to do it again, I would order the boost/buck regulator that outputs 24-volts from an input range of 8-40 volts. Then again, perhaps I shouldn’t wait so long to thoroughly test the next solar panel system.
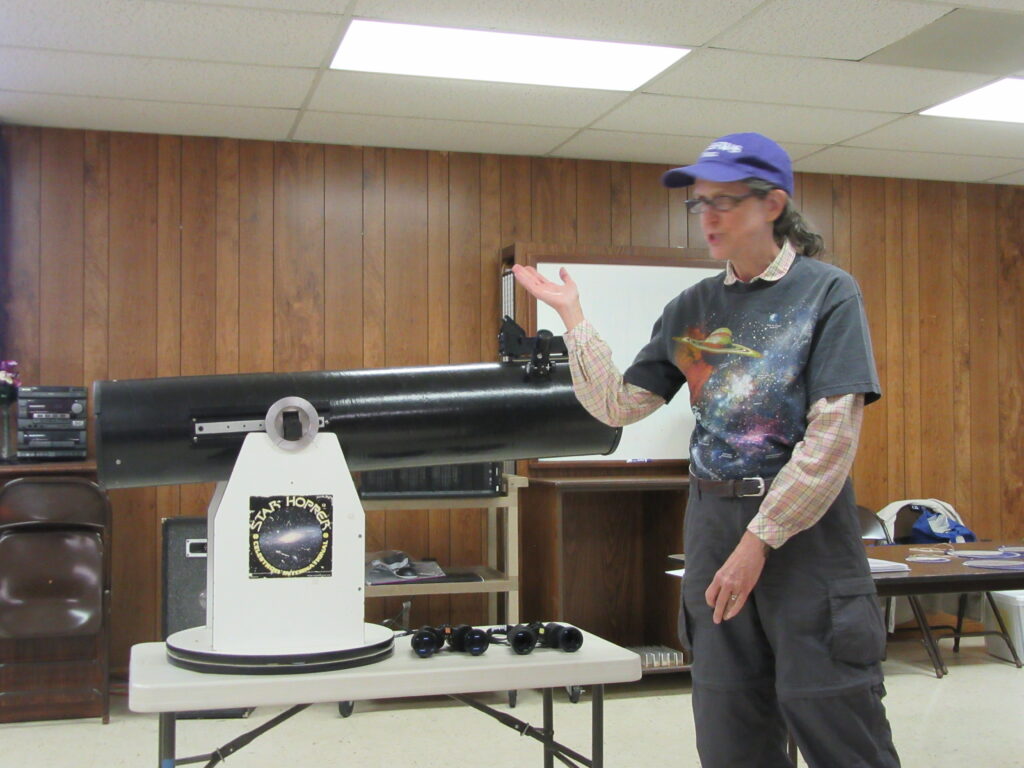
During the Oct, 2025 meeting, Jeff and Pam presented a class on Observational Astronomy
Pam started off giving a short description on what this meant. The very basics include orbital mechanics, planet spheres. The cool part is you can see a lot of things with just your eyes.
Jeff provided an explanation on orbital mechanics and shared some facts about the Earth and our rotation: The circumference is 24,900 miles Rotates once every 24 hours, so basically 1000 mph at equator
rotates 360 degres of arc every 24 hours
15 degs per hour ones fist at arm’s length = 10 deg of art 1 deg of arc every 4 mins apparent diameter of both the moon and sun is .5 degrees (one fingertip)
He then showed how the axis of the earth is pointed towards the North Star or Polaris and is the center of our axis.
They then provided a discussion on the celestial sphere, which is basically a ‘dome’ over us with the sky in an 180 deg arc over us.
He also described the rotation of the earth around the sun and the moon around the earth.
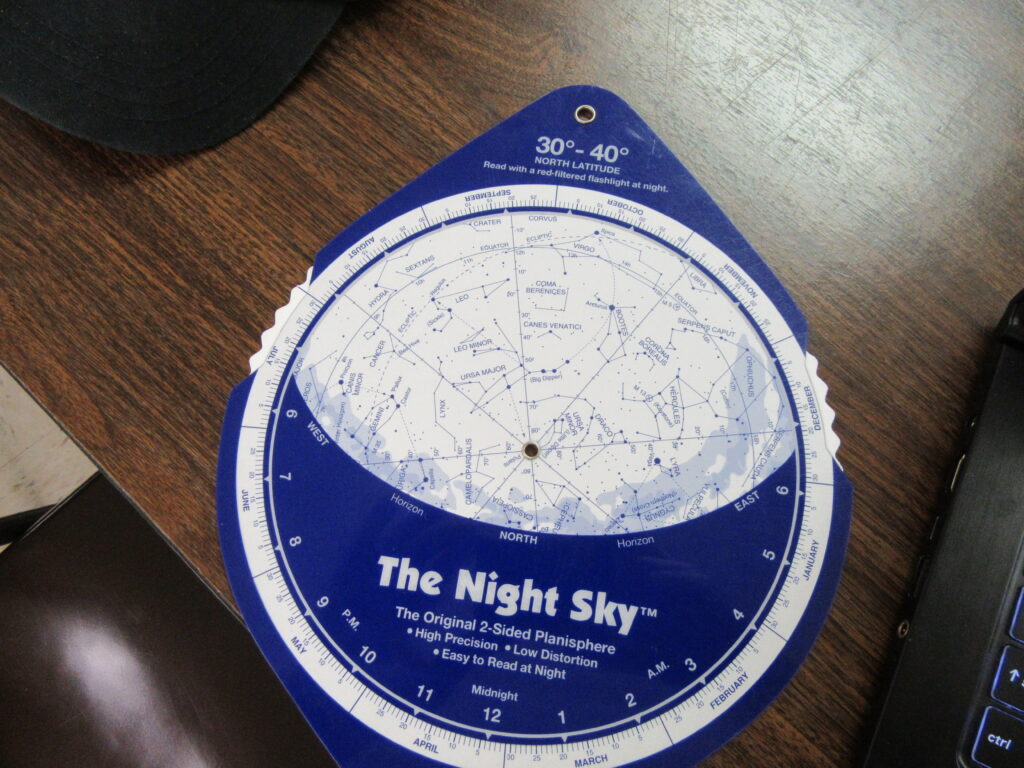
Pam then provide us with a 2-sided planisphere. This is a device that helps you find the various constellations when looking North or South. The ones for this area is the 30-40Deg latitude. She then gave us a quiz to find different stars at various points in time, along with our birth signs. Needless to say, I was disappointed to see that Sagittarius looks more like a teapot than the centaur archer that is often depicted.
Jeff closed out with some video from the Najamoy observatory
On April 12, 2025, seven members of the CCARC set up a display table at the CSM Art of Innovation STEAM Festival. If you’re wondering, STEAM stands for Science, Technology, Engineering, Art and Math. Local groups that offer activities and learning opportunities in one or more of those categories were invited to set up displays and engage with curious kids and adults.
Our display table featured the replica vintage spark gap transmitter that Bill, W8BL, built for the Cobb Island Day, a poster about Samuel Morse and his famous telegraph code, SNAP Circuits modules and a VHF/UHF radio. Near the Morse poster was a code key connected to a vintage Heathkit code practice oscillator.
Michelle, N3YRZ, and Theresa, KC3WXB, held down the fort at the display table for most of the four-hour event. They spent their day talking to visitors about amateur radio and the world of opportunities it holds for kids and adults alike. They reported even having a few inquiries about where to get license study materials.
The SNAP Circuits were a hit with the kids as well. Little kids were delighted to build a simple functional circuit by following the simple instructions that come with the kits. Parents were impressed with how easily their children could successfully build working circuits with the SNAP Circuits system.
Brad, W8NO, also spent time meeting with the public at our display table. He brought along his small, lightweight HF field radio system that fits neatly in a bag slightly smaller than a loaf of bread. Visitors to the table were surprised at the size and portability of his portable system with global signal range.
While the ladies were busy at the display table, other CCARC volunteers led workshops in the art of soldering and electronics kit building. A total of 23 participants took part in the kit building workshops under the guidance of either Bill, W8BL, Dan, KC3OPK, Joe, KB3HNP, or Bob, NW3M. Each person completed the simple LED flasher kit developed by the CCARC that they could take home.
Seeing the grins and excitement on the kids faces when their project came to life the moment they connected the 9-volt battery was gratifying to parents and volunteers alike.
The meeting last night consisted of three short presentations:
Bill (W8BL) provided a presentation on CI-V (Computer Interface #5) and its use for remote rig control. He demo’d how you can use CI-V to get certain data from your radio to display on your PC screen.
Bob (KB3KOW) gave a short brief on the SeaPerch program. This is an underwater ROV (Remotely Operated Vehicle) that is build from PVC piping
Brad (W8NO) showed some 400Mhz radios that are from the commercial side, but can be programed to work within the ham bands and then create form of a mesh network. More playing is needed for a future demo.
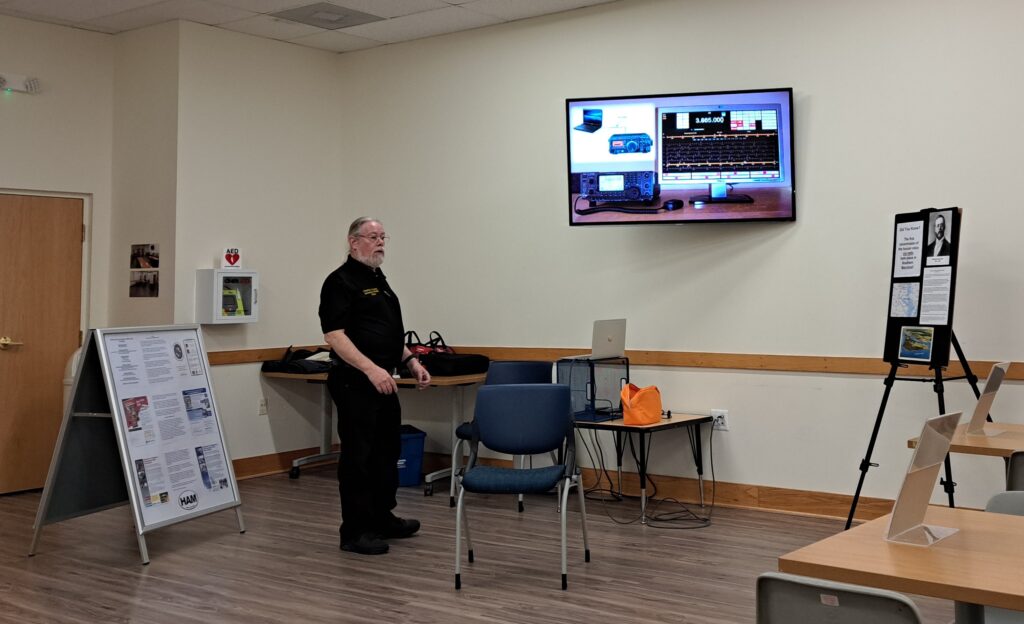
On Thursday, 13 Feb, members of the CCARC, lead by President Bob (NW3M), met up at the Potomac Branch Library in Indian Head, to provide a ham radio presentation to any interested individuals.
Attending were three guests (two adults, one teen), and additional club members included Brad-W8NO, Jeff-KB3SPH, Pam-KB3SWS, Daniel-KC3OPK, Bill-W8BL, and Charles-AA3WS.
Bob’s presentation was “Not your Grandfather’s Ham Radio” and covered modern ham radio – frequencies, bands, call signs, radio types, QSL cards, and different ways to be involved, including contests, Earth-Moon-Earth, special events, etc.
Pam-KB3SWS had informational displays on CCARC, World Radio Day, Marconi, and Fessenden.
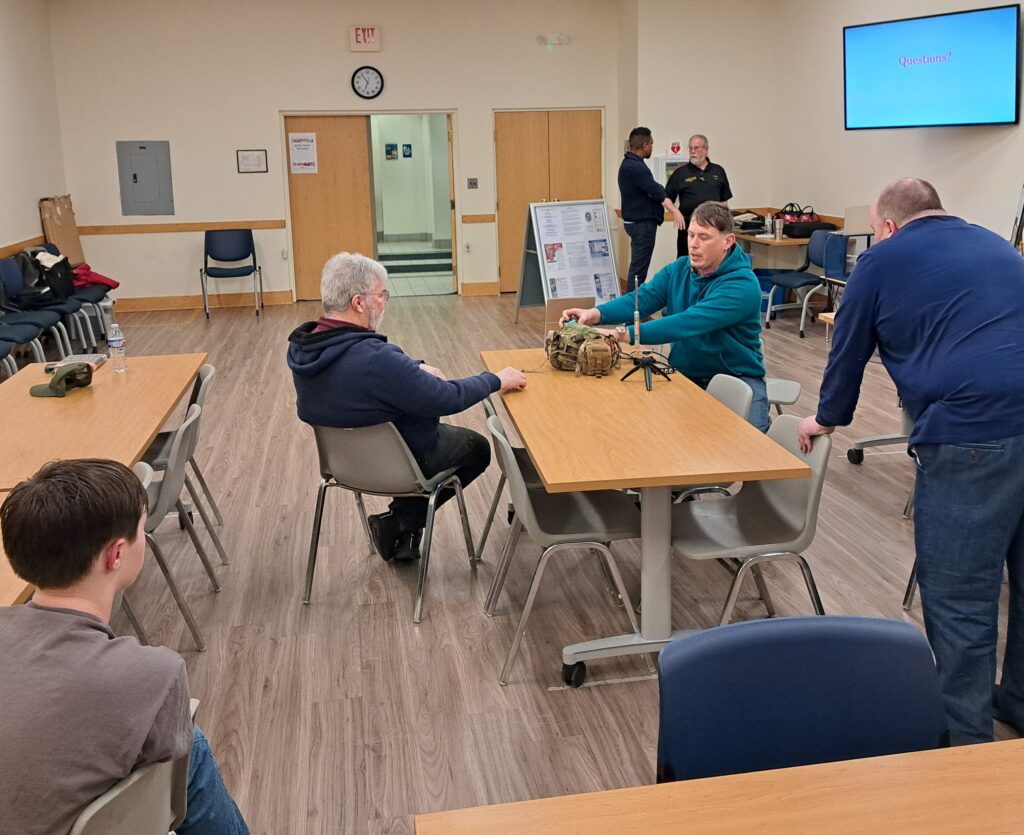
Live demonstrations of using a repeater with HTs (equipped with an outdoor ground plane antenna, roll-up J-pole antenna, and HT stock antennas) and simplex operations were shown by Bob-NW3M, Charles-AA3WS, and Jeff-KB3SPH.
Brad-W8NO demonstrated SDR reception, a QRP radio portable set-up, and a portable dual band beam antenna for satellite operations.
On 7 Feb, the CCARC was joined by Chris, NY9X, via Zoom as he lives up North. Chris presented an excellent brief on working the LEO Satellites and some ‘basics’ to ensure success.
Chris covered areas such as: – What type of equipment do I need? – How to find and track the sattys – What is Kepler Data – The up/down links – FM vs SSB – What is Doppler
His recommended site is amsat.org, which is a great place to get all the latest info on the various satellites up there. He also noted that in operations, it is almost a three handed process, so there was the recommendation to have a small recorder, so you can record your contacts and then go back afterwards to replay and do your logging. It was noted that the cost is $ to $$ to $$$ with the recommendation to spend as little as possible to get started as you may already have most of the equipment needed and then move on to bigger and better if you enjoy this aspect of the hobby and want to add more to your set up. Chris also used his personal experience to note some of the errors a newbie may have, such as not having the antenna connected or the wrong antenna connected, the frequency pairs reversed (sending on 2m when it is a 440 uplink as an example), or even having the side-bands not set up properly (LSB vs USB).
He did recommend that an FM satellite be the first attempt to work another station but noted the one issue is that the FM repeater only allows 1 signal at a time. You’ll hear a lot of activity, but jump in and start transmitting.
He offered to provide any assistance he could via email if you start to delve into satellite comms and he can be contacted at ny9x@ny9x.com